Wednesday, October 31, 2012

Small Post: Sweet and Spicy Grilled Corn

This is the Halloween post for grub, and since candy corn isn't something you can make easily enough (maybe it is, I don't know) I thought I'd talk a little about regular corn.

Grilled corn, anyway.


So it starts with corn on the cob, and once you peel back the stocks, you give yourself a nice handle (the stalk). I have some Mai Ploy chili paste, which is a red paste made from all sorts of great aromatics. I use it in Thai soups, curries, and even for grilling occasionally.

Like here for corn. I mixed about a tea spoon of the paste with a table spoon of brown sugar and then mixed  that into a half cup of coconut milk. I blended it well, and used it as a baste for the corn.

The cobs will develop a nice glaze, and when you go to eat them, you'll be surprised at how they look shiny and wet, but are actually quite dry to eat, but not in a bad way. Depending on how much chili paste you use will determine how spicy the corn will end up.

It's an exotic and easy recipe. Good stuff.

Monday, October 29, 2012

Jujubees

This blog is originally a home-cooking site, but I was introduced to what's sometimes called a Chinese Apple at a farmers market, and I felt compelled to share.

There is an (awful) hard-jelly candy called a jujubee. I don't know where that name came from, but this is the real thing.

The fruit, jujubee, comes from a tree, and doesn't look appetizing necessarily: a rusty-brown color and a dull, thuddy sound it gives when you tap it:


It looks like a date, almost. It definitely, though, doesn't feel like a date. It feels hollow almost, light, unsubstantial:


But when you bite into it, oh man! The flavor is hard to describe. The consistency is like an apple, but much drier. Much drier, and maybe a little spongier, but in the apple ballpark. The pit or seed is large and mostly almond shaped. It doesn't drip, like a juicy apple would:


It tastes creamy. Not tart, or sour, or even all that sweet; creamy. It's so weird, and yet, so damned good you'll find yourself drawn back to their bag, again and again. Words fail to explain this strange quality of the jujubee. Everything about them is a little, eh, different.

Chicken Thigh Tutorial

I tried to do a photo shoot of the boning process for the thigh and drumstick conflagration, but I was by myself and my hands got too greasy with raw chicken too fast to get too many good pictures. I'll learn from that at least.

But the first cuts you'll need to make run along the bones themselves. Then take your knife and slice around a point above bottom of the drumstick. Check below on the left. The idea is to sever all the anchoring sinew from the former heel of the chicken.


Then it's just a number's game. Numbers and patience. Slice gently and close to the bone, going slowly.


You'll be able remove one part, then work the longer drumstick, then you'll find it's the knuckle is the last part still attached. It's easy to cut the final part, but only if you know what you're doing. Go ahead and cut it off, and pick any hard cartilage or tiny bone remnants out with care and the tip of your knife.

This blog isn't really a butcher forum, and my pictures are woefully insufficient, but the essence is here for those who have the patience and the courage. The cut, once finished, can be pan fried into one of the best tasting chicken dinners anywhere.

Hope the pics aren't too gruesome.

Friday, October 26, 2012

Roasted Mushrooms

My favorite mushrooms are hard to find out here on the west coast, whereas they grow wild  in huge colonies in the northeast. They're an amateur forager's dream, in that they're excellent tasting, grow to be huge, and the best part, there aren't any poisonous lookalikes.

Those mushrooms are mostly known by their Japanese name, maitaki. They're also known as hen-of-the-woods back east sometimes, because they look like the back of a hen. A delicious and unique 'shroom for everyone's enjoyment.

One of my favorite ways of cooking the maitaki I'll be discussing here, with a few more notes for a meal. But I'll be using oyster mushrooms, which are pretty good as well.

You want to first crank up your oven to 500, and make sure it's pretty hot once you start. Cut off any knobby or tough parts of the stem on your mushrooms.

What follows will be fine for any kind of mushroom.

Start with some vegetable oil in your pan, and crank the heat up to high on that as well. Wait for the wisps of smoke to appear, the oil shimmering, and drop in your mushrooms, but only enough so they're not crowded. Once in, season with salt and pepper:


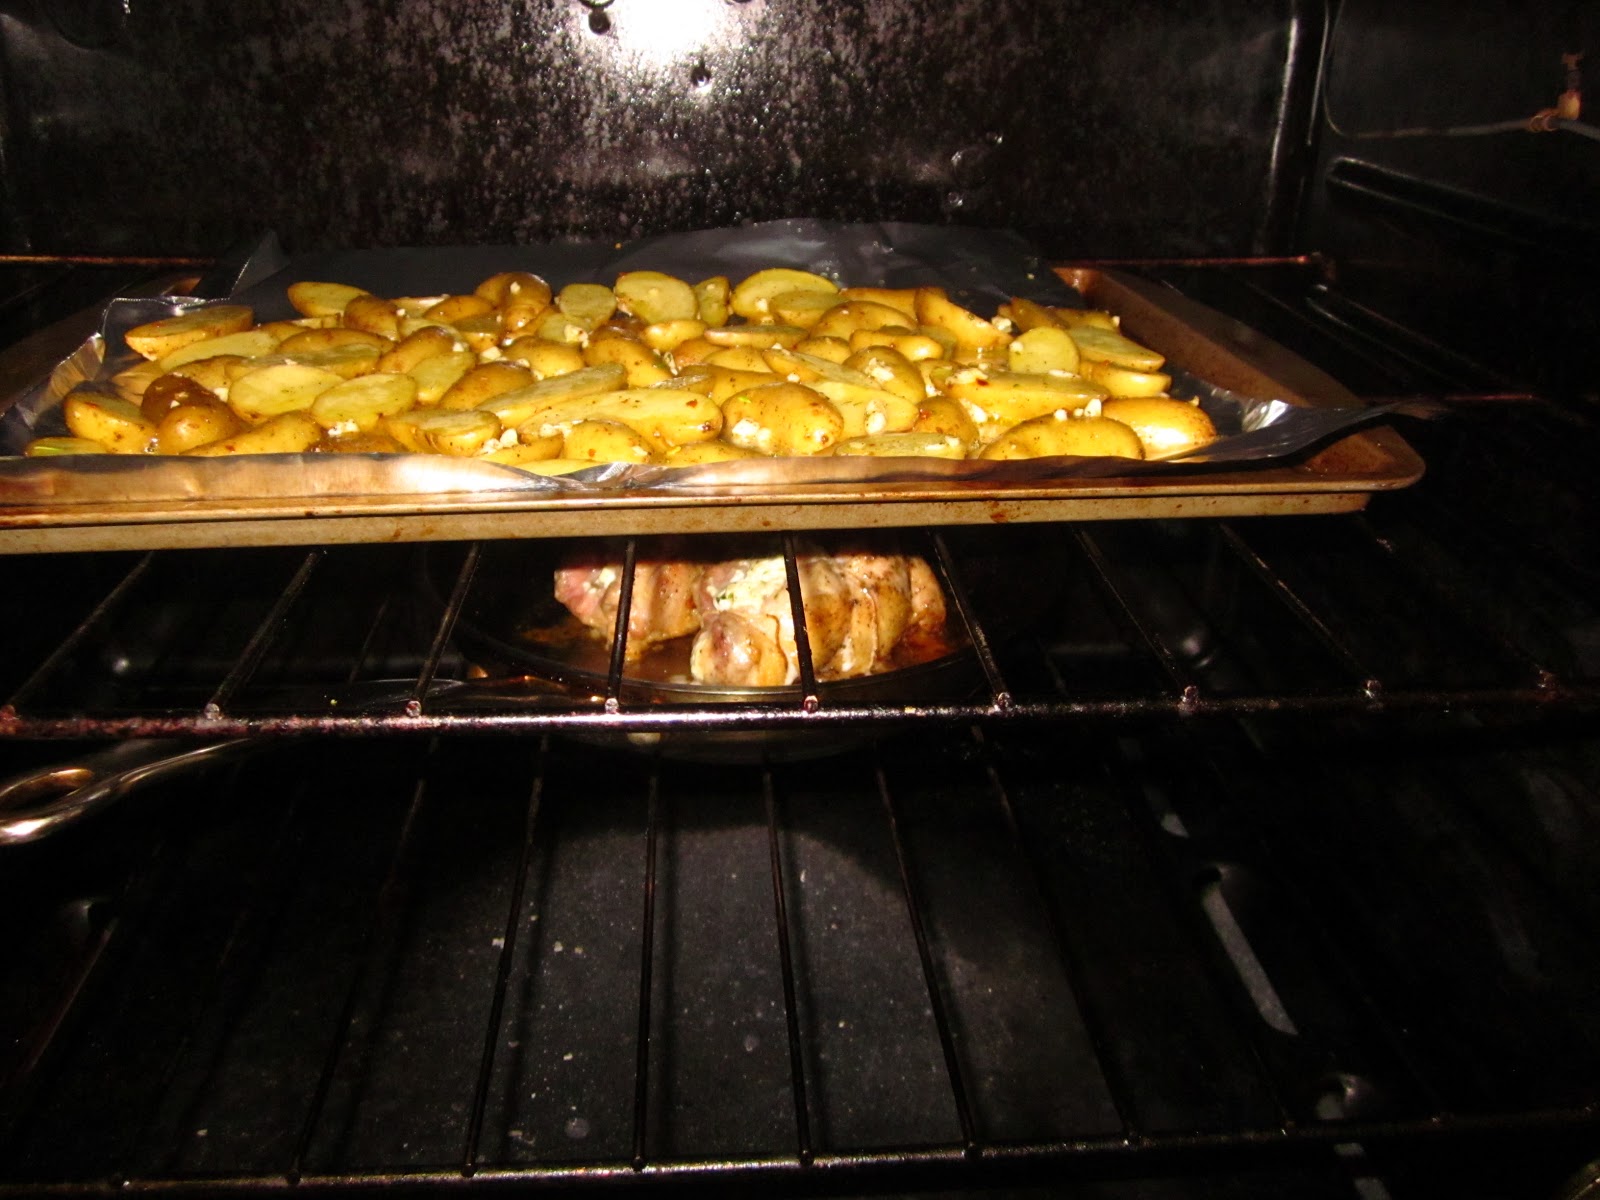
Let them go for maybe five to ten seconds, and then place inside the hot hot oven.

It'll take only two minutes in the oven, give or take ten to twenty seconds:


See how they're golden? Now comes the awesome, yummy finishing part: the buster basting. Drop a pat of butter, between a half tablespoon to a whole, along with a healthy amount of fresh thyme sprigs. See below:


The thyme leaves pop and fill the air with such an aroma that you'll be transported to the late eighteenth century. Using a hand-towel or oven mitt, shake the pan vigorously to foam the butter and get all the thyme popped:


Now remove the mushrooms and thyme sprigs and set them on a plate to lose some of the butter grease, maybe even using a slotted spoon to remove the 'shrooms. This pretty much a done topper now, to be placed artistically as garnish on steak or chicken dishes, or to be used in pastas, which is what I was making on this day: a pasta dish.

To do that, start with a clove of garlic, smash it, and put in in the pan with some wine for deglazing. I only had red wine at the time, but white wine is usually used.


There won't be too much to deglaze, but it'll be tasty. As the wine reduces and your kitchen now smells like a French restaurant, add some chicken stock (water will do as well, but won't taste as good), and using a spoon, break up the garlic:


Now, like any good French pan sauce, add butter, and turn off the heat:


Mix in the butter with the heat off and the sauce gets a nice coating ability, and then add your already cooked pasta. I had shells left over that I'd stored separate from the tomato based sauce from the previous evening.


That sauce coats and covers the pasta with flavor and sexy goodness, and return the mushrooms to the pan, toss everything once or twice, just to coat the mushrooms (if you want to do that, it's not necessary), and then plate it:


Awesome.

Not that anyone cares, but I scrubbed the stove top later that day...it was damn filthy and embarrassing me a bit.

Thursday, October 18, 2012

Gonzo De-Boned Rolled Quarters

Trying to get a little funky, I decided to pull out an old trick. The missus and I had gone to the big Sunday farmers market in our neck of the woods and picked up some nice goat cheese, and in order to make sure it doesn't go bad, I've been finding things for it.

One was the rolled thigh. This dish can be done with any kind of stuffing, or no stuffing at all. It doesn't even need to be rolled, really. It's the carving that's the star here.

The cut is a chicken leg quarter. And the carve is to remove the thigh bone and drumstick, leaving the thigh meat and leg meat intact on a sheet of skin. Maybe I should have a tutorial demonstration, but until then, see the picture:


You don't need to be a butcher to get this. All you need is patience and a sharp knife. Go slowly. Really that's it. It just takes time and sharp knife.

This next picture has the string with which I'll be tying the quarters, and the goat cheese getting ready to be lined:


Here are the rolled and tied quarters:


The starch from this meal was also purchased at the market: fingerling potatoes. I was going to roast them old school, like back at Inside Park, a restaurant I worked at in Manhattan. I started with minced garlic (fresh from the market) and some chopped rosemary from out on our balcony.


Then I added salt and pepper and olive oil, and then the potatoes, halved and rinsed and then dried off. In New York I would've added chopped thyme as well, but I don't have any here.


Then onto a sheet tray, and into the oven. My oven was off a little, so I didn't get the color I was looking for on them, but they tasted very good.


Besides showing off how filthy my oven is, you can see the potatoes and the chicken working together. The chicken was done in a half sexy, half stewing way. First, you need your pan to be able to go into the oven. Then you get a little screaming hot, shimmering and beginning to smoke. Put the chicken down skin side down.


For these rolled quarters, it's three quarters skin, so you need to roll it around like you would for stewing meat, and get some color on all sides. Then leave them cut side up, and wait for them to finish. That could take anywhere from 15 to nearly 30 minutes, depending on your oven and what else might be inside.

But in the end, you get something like this:


And here's the final meal. Gonzo Rolled Quarters, Manhattan Fingerlings, and farm delivered butter lettuce salad.


We like our meals balanced.

Wednesday, October 10, 2012

Gonzo Fried Rice

What a mess. These pictures show off how bad our kitchen looked a few days prior to a nice deep clean.

It makes me cringe.

In any case, it's hard to see. And on this day I was making fried rice.

Fried rice is easy and something that can absorb lots of different leftovers, especially rice. This is one of the extender-of-meager-provisions dishes.

Rice for the fried rice is usually left over, and a little dried out, even in restaurants. We eat plenty of rice, so the occasional fried rice can be done with just a few extra vegetables.

I started with an onion, sauteing it in oil, then added garlic and red chilis, and in a second pan fried up two eggs. By the time I got the eggs started, I'd added carrots and broccoli.


Here's the stuff that goes in later. Once the broccoli and carrots are soft, but not fully cooked, put the rice in. Toss the rice until it's evenly mixed. Once it gets hot and popping, start the flavoring. Notice I hadn't added any soy sauce or anything such liquid. That goes in after the rice.

Soy sauce, nam plaa (Thai fish sauce), and sesame oil are the usual suspects. This is done to taste. While the rice is still hot and flavored well, turn off the heat and add sliced scallions and finely chopped Napa cabbage, but here all I had was Savoy cabbage.


If you need to make rice for the dish (as I did since I didn't have quite enough rice), cool it on a sheet tray in the fridge once it's done. It may not be as dry as you may like, but it'll still work.


The idea is to wilt the scallions and cabbage in the still hot rice. Fold in the eggs here as well. Sprouts are also traditionally used at this moment.

Here's the final mass:


It's tasty and plentiful.